Friday, March 14, 2014

Become an IEEE Officer Next Year! Learn all about it March 26th! Free Pizza!

Have you ever wanted an opportunity that:

Gave you exclusive face time with dozens of industry members?
Improved your resume to include something nobody else has?
Gave you access to an exclusive lounge to hang out and store your books?
Paid you to do it?
Only took 2-4 hours at the most a week?

If so, becoming an IEEE officer would be perfect for you! We will have an informational meeting about the roles and responsibilities of an IEEE officer Wednesday, March 26th at 5pm in Engineering E103. We will have free pizza too!

See you there!

Cameron Bloom
IEEE President

The IEEE Open Design Competition: Everything You Need to Know

What is it?

The Open Design Competition is a free form competition where anyone can compete with a completely unique project of their choosing. These can be anything - games, tools, fun projects, serious projects - the options are endless. Projects are demonstrated to a team of judges that include industry, faculty, and graduate students.


When and where:

April 5th (Saturday), 10am
Cherokee Park Ballroom, Lory Student Center

Project Requirements:
1) Something interesting to you.
2) Costs less than $200.

That's it! The competition is completely free form - make what you want. It doesn't even have to be working - if your project isn't functional but you can explain what's wrong with it you'll get nearly as many points as someone's project that is working.

How can I learn more?
Head over the the Open Design Competition Blog for additional details.

Where do I sign up?
When you're ready, register here! Registration closes at midnight Friday, March 28th.

Thanks to our sponsors Wolf Robotics and the IEEE High Plains Section for making this all possible!

Wednesday, March 12, 2014

Competition Registration - MANDATORY ACTION, PLEASE READ

If you are planning on presenting a project for the Open Design Competition on April 5th, it is mandatory that you/your team fill out a registration form by 11:59pm, March 28th. The link can be found below.

If your team does not fill out a registration form by this time your project will be disqualified from entering the competition. All projects must also be present to compete. Again, it is mandatory to fill out the registration form linked below to compete. Please let us know if you have any questions.

https://docs.google.com/forms/d/1EDwI3Suxjc_ZUqvrex805Ys3g1ItvMigJrZ80d8mHwA/viewform

Monday, March 10, 2014

Open Design Competition Help Sessions

To help get everyone's projects ready from the competition, IEEE will be offering three help sessions before the competition on April 5th. These will be held in the BC Infil and are casual opportunities to discuss and troubleshoot issues, get design feedback, and ask questions about the competition. The schedule for these is listed below. If you need any help or guidance feel free to stop in at any time during these sessions and one of our officers will assist you.

Wednesday, March 12th, 4p-7p
Thursday, March 27th, 4p-7p
Wednesday April 2nd, 4p-7p

Hope to see you there!

Final Date and Information

The final date for the Open Design Competition has been set! We will be holding the competition Saturday, April 5th, 2014, at 10am in the Cherokee Park Ballroom of the Lory Student Center.

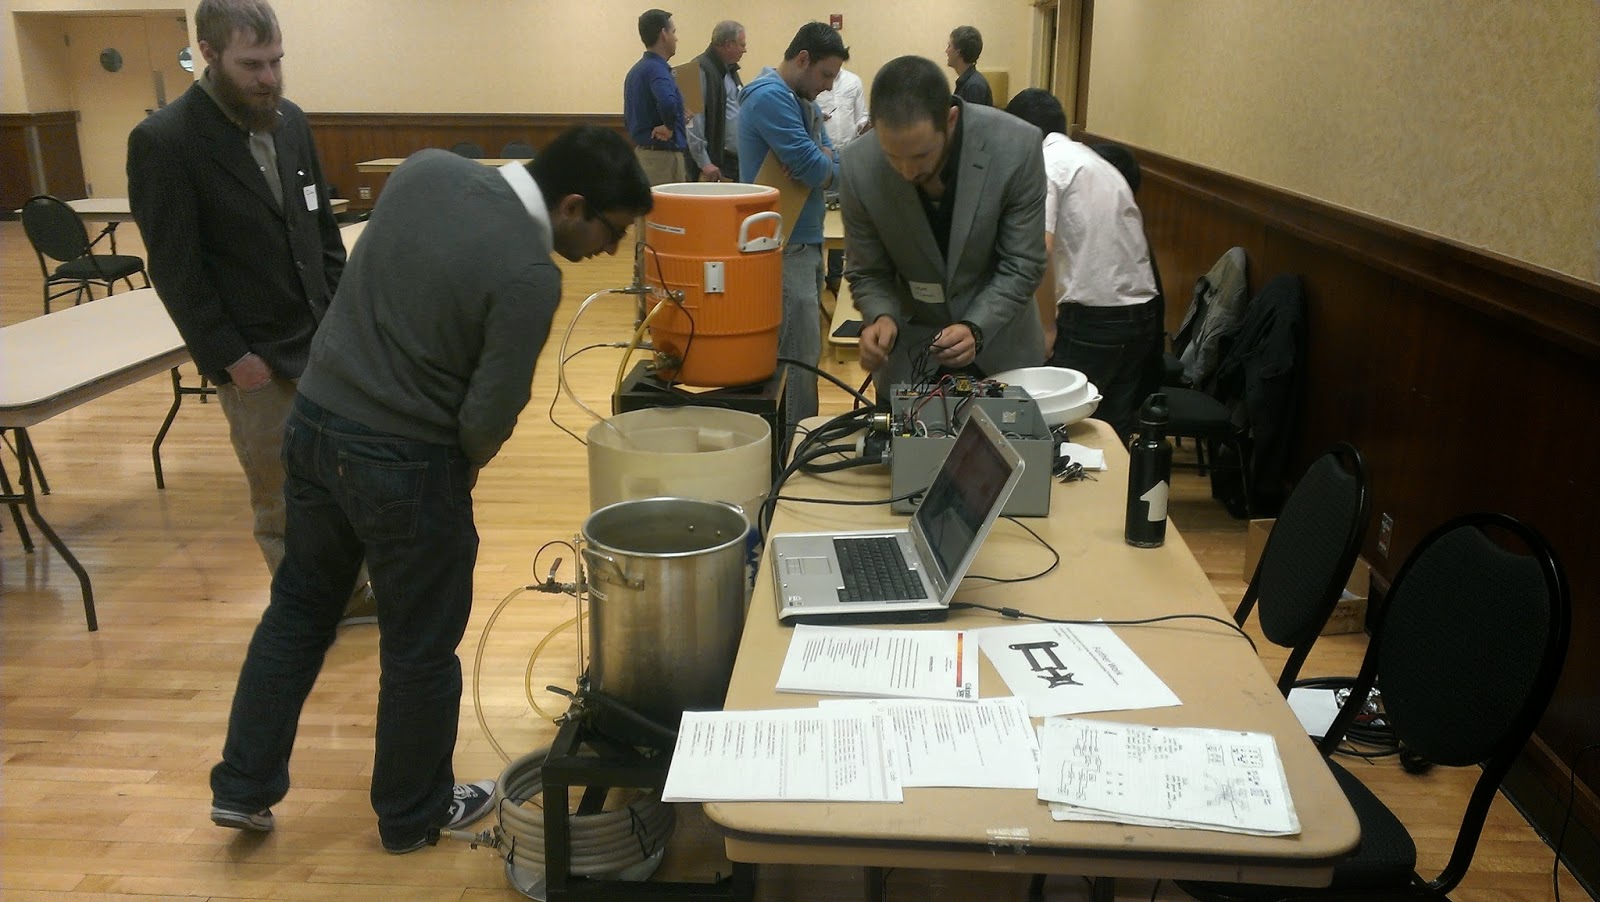
The competition will work like this: teams will bring their projects in and set them up at their assigned tables and our team of judges (industry members, professors, and graduate students) will walk around and judge each project. Each project will be judged three times and the scores will be tallied up at the end to determine the winners.

We are still working out the prizes for the competition but we gave out nearly $1000 in cash in prizes last year so if you have a project you'll definitely want to come compete! 

Thursday, February 6, 2014

Workshop 5: Project Design

Workshop Contents

I. Finding Ideas

II. Choosing an Idea
III. Changes and Flexibility
IV. Implementation
V. Finishing the Project
VI. Demo - The Idea/Development Process
VII. Demo - Code
VIII. Demo - The Circuit

I. Finding Ideas


Ideas are the easiest part of the project design process- it's just a matter of having an open mind and looking in the right places. Ideas can be plentiful if they are allowed to be formed without restriction or caution. They can be big or small - an idea doesn't have to change the world, and little ideas are far easier and more realistic. Ideas don't have to be perfect either - there is no such thing as a perfect idea, but it is very possible to find several great ideas. Ideas also don't have to be good - in the brainstorming process there can be a lot of garbage ideas that come up, but for every handful of these ideas there is always a few strong ideas hidden in the mix. When brainstorming ideas, keep and open mind and record as many random ideas that pop into your head.


Ideas can come from virtually anywhere, but here are some good places to look:

        - Problems that need fixing
        - Things that could be better
        - Cool Stuff
        - Anything around the house
        - School, work, etc.
        - Activities 
        - Routine Tasks
        - Hobbies
        - What you and other people complain about
        - "It would be really helpful/cool/fun/interesting if...."
        - Combining things, speeding things up, improving, automating, etc.


II. Choosing an Idea

Once a list of ideas has been formed, it is time to narrow those ideas down into a handful of the best ideas. Ask yourself - "what ideas are applicable to what I want to do?" In the case of the Open Design Competition, the key questions to ask have to do with how a micro controller/electrical/programmable solution can be applied to the idea. There will be ideas on the list where this route makes no sense at all, but there will be others where this route would provide the perfect solution to the task at hand. These are the ideas that should be moved on with.


Besides the applications of the idea, consider the constraints of the idea - how easy will it be to implement? Will it be expensive? Am I capable of doing this? Is it interesting and do I want to do this?

At this point, there are probably a couple of ideas on your list that are easy favorites - ones that are intuitively great options that would be fun, exciting, and fulfilling to pursue. Choose a favorite and move on to the next step....

III. Changes and Flexibility


...but don't be afraid to let go of that idea. One of the biggest difficulties in project development is adjusting to changes and complications during the project process. Ideas can become unexpectedly difficult, complicated, impossible or uninteresting very quickly at any moment, so it's important to have a backup plan or two. This isn't guaranteed to happen, but it's a risk that is always taken in the project design process - sometimes things just don't work. 

IV. Implementation


Start moving into the idea by organizing what it will take to realize the idea - lay out basic block diagrams of how a project should come together - what parts of the project are necessary, what sort of sequence happens, what is important for the project, etc. Start large, with block diagrams, and slowly work smaller and smaller until you have the full technical details mapped out. Move into pseudo-code explaining functionality and mechanical drawing illustrating actions and go from there, developing the technical aspects of the project.


Before getting too far into everything, make sure everything is going to work. List the requirements and restrictions of the project from as many angles as possible and map out the full technical picture of the project - will everything work as intended? Will it all work together correctly? Are there any risky portions that need to be focused on?

As mentioned before, at this point it's likely that there will be some design changes that need to be made. These can be managed (usually) but they must be properly considered and once a change is made make sure to check that the rest of the system will integrate with that new part correctly and as intended. Changes can have major ripple effects that change a project overnight.

Implementing Code

To implement the code, start by writing it in pseudo-code - a purely logical representation of how the code works - detailing the values needed, the variables, and the loops without actually typing code. Once these are organized and understood it will be much easier to write the code. As code is written, when and if errors or difficulties come up make sure to use the internet to find these solutions - there are a ton of resources for programming difficulties, especially in Arduino, so it's valuable to pull from these as much as possible. Google errors and use the internet to diagnose problems and find solutions. Test your code in small chunks to find errors in controlled sections of code, not in the whole program itself for easier debugging.

Implementing Circuits

When implementing circuits, make sure to sketch everything out carefully and do your math before buying components - ensure that everything should work correctly first. As you get components and implement them, carefully test each section as best you can to ensure that component damage is limited or even eliminated - it's better to fry an LED than your entire microcontroller. Slowly integrate sections together and be mindful of potential risks in the circuit, like high current that might adversely affect your project.

Implementing Mechanical Designs
Finally, make sure to check the forces and mechanical limits involved with the mechanical design. Consider part durability and materials to make sure everything should work as intended without damage and that the system will not have issues in the future.


V. Finishing the Project


Once these three main areas are put together, it will be time to integrate them. Like as mentioned before, slowly integrate each section and test as often as possible to eliminate risk and catch as many issues as possible early on. 


When debugging/finding issues, be smart about it - go slow, confirm assumptions, limits, and constraints, and carefully dissect the problem, isolating the problem, it's cause, it's fix, and the ultimate solution. Take your time, be careful with debugging, and make sure not to randomly try things you do not understand - make a conscious effort to understand the problems and the solutions necessary.

As the project reaches completion, there will probably be more work to be done. Design's don't come out exactly as intended, and there might be additional work needed to improve the project further once you've finally seen it in action.

VI. Demo - The Idea and Project Development Process


To implement this project design theory, I went through these steps to design a manual car transmission. The first thing I did was sketch out what the system needed to look like from the car's perspective - the engine, the gear box, the clutch, and the dashboard dials. I then likened these components to electrical components I could used in my kit to develop a rough technical layout of the project. Finally, I asked myself how feasible this would all be, and developed a game plan for it all. 

VII. Demo - The Circuit

To implement the circuit, I first chose the components - a DC motor (engine), a Servo motor (gear box), LEDs (dashboard content), and a button (clutch/shift action). I made short test programs for each component and slowly integrated them into a complete system. Along the way I found that my DC motor wouldn't work as I intended to, so I had to scrap it and find a different solution, updating the rest of my project as a result. 


The final circuit is shown here:


VIII. Demo - The Code


As the hardware came together I wrote pseudo-code to organize the functionality of the program and then began writing the actual code and testing it incrementally. As the code came together, I organized it with the code used to test the hardware and formed the final program:


#include <Servo.h>

Servo servo1;
int pos = 0;

void setup()
{
     Serial.begin(9600);     //  setup serial
     pinMode(2, OUTPUT);
     pinMode(3, OUTPUT);
     servo1.attach(10);
     servo1.write(0);
}

void loop()
{
  digitalWrite(2,HIGH);
  digitalWrite(3,LOW);
  for (int i = 0; i < 7000; i++)
  {
    delay(1);
    if (digitalRead(9) == 1)
    {
      delay(300);
      pos = pos - 36;
      if (pos < 0) {pos = 0;}
      servo1.write(pos);
      i = 7001;
    }
  }
  digitalWrite(2,HIGH);
  digitalWrite(3,HIGH);
  for (int i = 0; i < 7000; i++)
  {
    delay(1);
    if (digitalRead(9) == 1)
    {
      delay(300);
      pos = pos + 36;
      if (pos > 180) {pos = 180;}
      servo1.write(pos);
      i = 7001;
    }
  }
}


The final project works like this: The servo indicates what gear the car is in and the LEDs indicate what the status of that gear in regards to shifting. If only the green light is on, then pressing the shift button will down-shift the car. If the green and red lights are on, then pressing the button will up-shift the car.